November 6, 2023

What Is the Real Difference? Arduino Mega Vs Micro Vs Uno

Side by side comparison of the 3 powerful and most common Arduino microcontroller boards; Arduino Mega 2560, Arduino Uno and Arduino Micro.

When it comes to microcontrollers, Arduino is a name that resonates with makers, hobbyists, and engineers alike. Within the Arduino ecosystem, there are several popular models. In this article, we'll note the differences between three prominent Arduino models: the Arduino Mega, Arduino Micro, and Arduino Uno

| Feature | Arduino Mega | Arduino Uno | Arduino Micro | | :=== | :=== | :=== | :=== | | Operating Voltage | 5V | 5V | 5V | | Input Voltage (recommended) | 7-12V | 7-12V | 7-12V | | Input Voltage (limits) | 6-20V | 6-20V | 6-20V | | Digital I/O Pins | 54 | 14 | 20 | | Analog Input Pins | 16 | 6 | 12 | | DC Current per I/O Pin | 40mA | 40mA | 40mA | | DC Current for 3.3V Pin | 50mA | 50mA | 50mA | | DC Current for 5V Pin | 800mA | 200mA | 500mA | | Flash Memory | 256 KB | 32 KB | 32 KB | | SRAM | 8 KB | 2 KB | 2.5 KB | | EEPROM | 4 KB | 1 KB | 1 KB | | PWM Pins | 15 | 6 | 7 | | Clock Speed | 16 MHz | 16 MHz | 16 MHz | | Dimensions (mm) | 101.6 x 53.3 | 68.6 x 53.4 | 48.3 x 18.3 | | Weight (grams) | 37g | 25g | 12g |

Arduino Mega: The Powerhouse

3D rendered top view of Arduino Mega microcontroller board, the powerhouse arduino board
Arduino Mega: The Powerhouse

The Arduino Mega is a veritable powerhouse among Arduino boards. When raw computational muscle is what you need for your project, the Mega is the answer. It's powered by the ATmega2560 microcontroller, boasting a clock speed of 16MHz. This 8-bit microcontroller offers a substantial amount of flash memory, 256KB to be precise, which is a game-changer for projects requiring extensive code or data storage. Here are some key features of the Arduino Mega:

  • Flash Memory: 256KB
  • SRAM: 8KB
  • Clock Speed: 16MHz
  • Operating Voltage: 5V
  • Digital I/O Pins: 54
  • PWM Pins: 15
  • Analog Input Pins: 16

The Arduino Mega is a go-to choice for projects that demand an extensive range of digital and analog pins. Its generous 54 digital I/O pins and 16 analog input pins make it ideal for complex robotics, 3D printers, and other projects requiring multiple sensors and actuators. The 15 PWM pins provide precise control over motors and servos, which is a significant advantage for robotic applications. Additionally, the vast 256KB of flash memory ensures that even the most complex code can be accommodated.

Arduino Uno: The All-Purpose Classic

3D rendered top view of Arduino Uno microcontroller board, the all-purpose classic arduino board
Arduino Uno: The All-Purpose Classic

The Arduino Uno is the quintessential Arduino board. It's the board that most beginners start with, and for good reason. It's straightforward, versatile, and perfect for learning the ropes of microcontrollers. The Arduino Uno is powered by the ATmega328P microcontroller, running at 16MHz, and offers the following features:

  • Flash Memory: 32KB
  • SRAM: 2KB
  • Clock Speed: 16MHz
  • Operating Voltage: 5V
  • Digital I/O Pins: 14
  • PWM Pins: 6
  • Analog Input Pins: 6

The Arduino Uno may not be as feature-rich as the Mega, but it has its own set of advantages. Its simplicity makes it an excellent choice for beginners, and its smaller size allows it to be easily integrated into various Arduino projects. With 32KB of flash memory, it can handle most small to medium-sized projects with ease. The 6 PWM pins provide ample control for motors and LEDs, and the 14 digital I/O pins are sufficient for many applications.

Arduino Micro: Compact and Portable

3D rendered top view of Arduino Micro microcontroller board, the compact and portable arduino board
Arduino Micro: Compact and Portable

The Arduino Micro is the compact sibling in the Arduino family. It offers an excellent balance of performance and size, making it an ideal choice for portable and space-constrained projects. Here are some of its key specifications:

  • Flash Memory: 32KB
  • SRAM: 2.5KB
  • Clock Speed: 16MHz
  • Operating Voltage: 5V
  • Digital I/O Pins: 20
  • PWM Pins: 7
  • Analog Input Pins: 12

The Arduino Micro is an excellent choice when you need a microcontroller that can fit in tight spaces. It's also noteworthy for its 7 PWM pins, which provide fine-grained control over various components, and 20 digital I/O pins, giving you the flexibility to connect multiple sensors and actuators. With 32KB of flash memory, it can handle a wide range of projects while maintaining its compact form factor.

What are Flash Memory and Clockspeed?

Some important specifications on these boards are flash memory and clockspeed, but what are they? Flash memory serves as the digital canvas where your code and data are stored. Think of it as your project's memory bank, and the larger the capacity, the more room you have to store complex code and information. On the other hand, clock speed determines the rate at which the microcontroller processes instructions. A higher clock speed signifies a faster computational engine.

Beyond the Basics: ICSP and 3V Operation

In addition to the features discussed so far, it's important to mention two benefits of using any of these Arduino microcontrollers:

In-Circuit Serial Programming (ICSP)

All three Arduino models support ICSP (In-Circuit Serial Programming), which allows you to reprogram the microcontroller without removing it from your project. This can be a handy feature, especially when you want to make updates or changes to your code without disassembling your project.

3V Operation

While the default operating voltage for these boards is 5V, it's worth noting that they can be adapted for 3V operation with some care. This is useful when working with components that require a lower voltage supply, such as many sensors and microSD cards.

Choosing the Right Arduino for Your Project

The choice between the Arduino Mega, Arduino Uno, and Arduino Micro ultimately depends on the requirements of your project, so consider the following factors:

  1. Project Complexity: If your project involves a high degree of complexity, numerous sensors, and multiple actuators, the Arduino Mega should be the preferred choice.
  2. Learning and Prototyping: For beginners or when you're in the prototyping stage, the Arduino Uno's simplicity and familiarity can be a significant advantage.
  3. Compact Projects: If your project demands a compact form factor, the Arduino Micro strikes a balance between performance and size.
  4. Budget: Arduino Uno is cost-effective and well-suited for budget-conscious projects.

Regardless of your choice, with the right board in hand, your Arduino project will be ready to take flight!
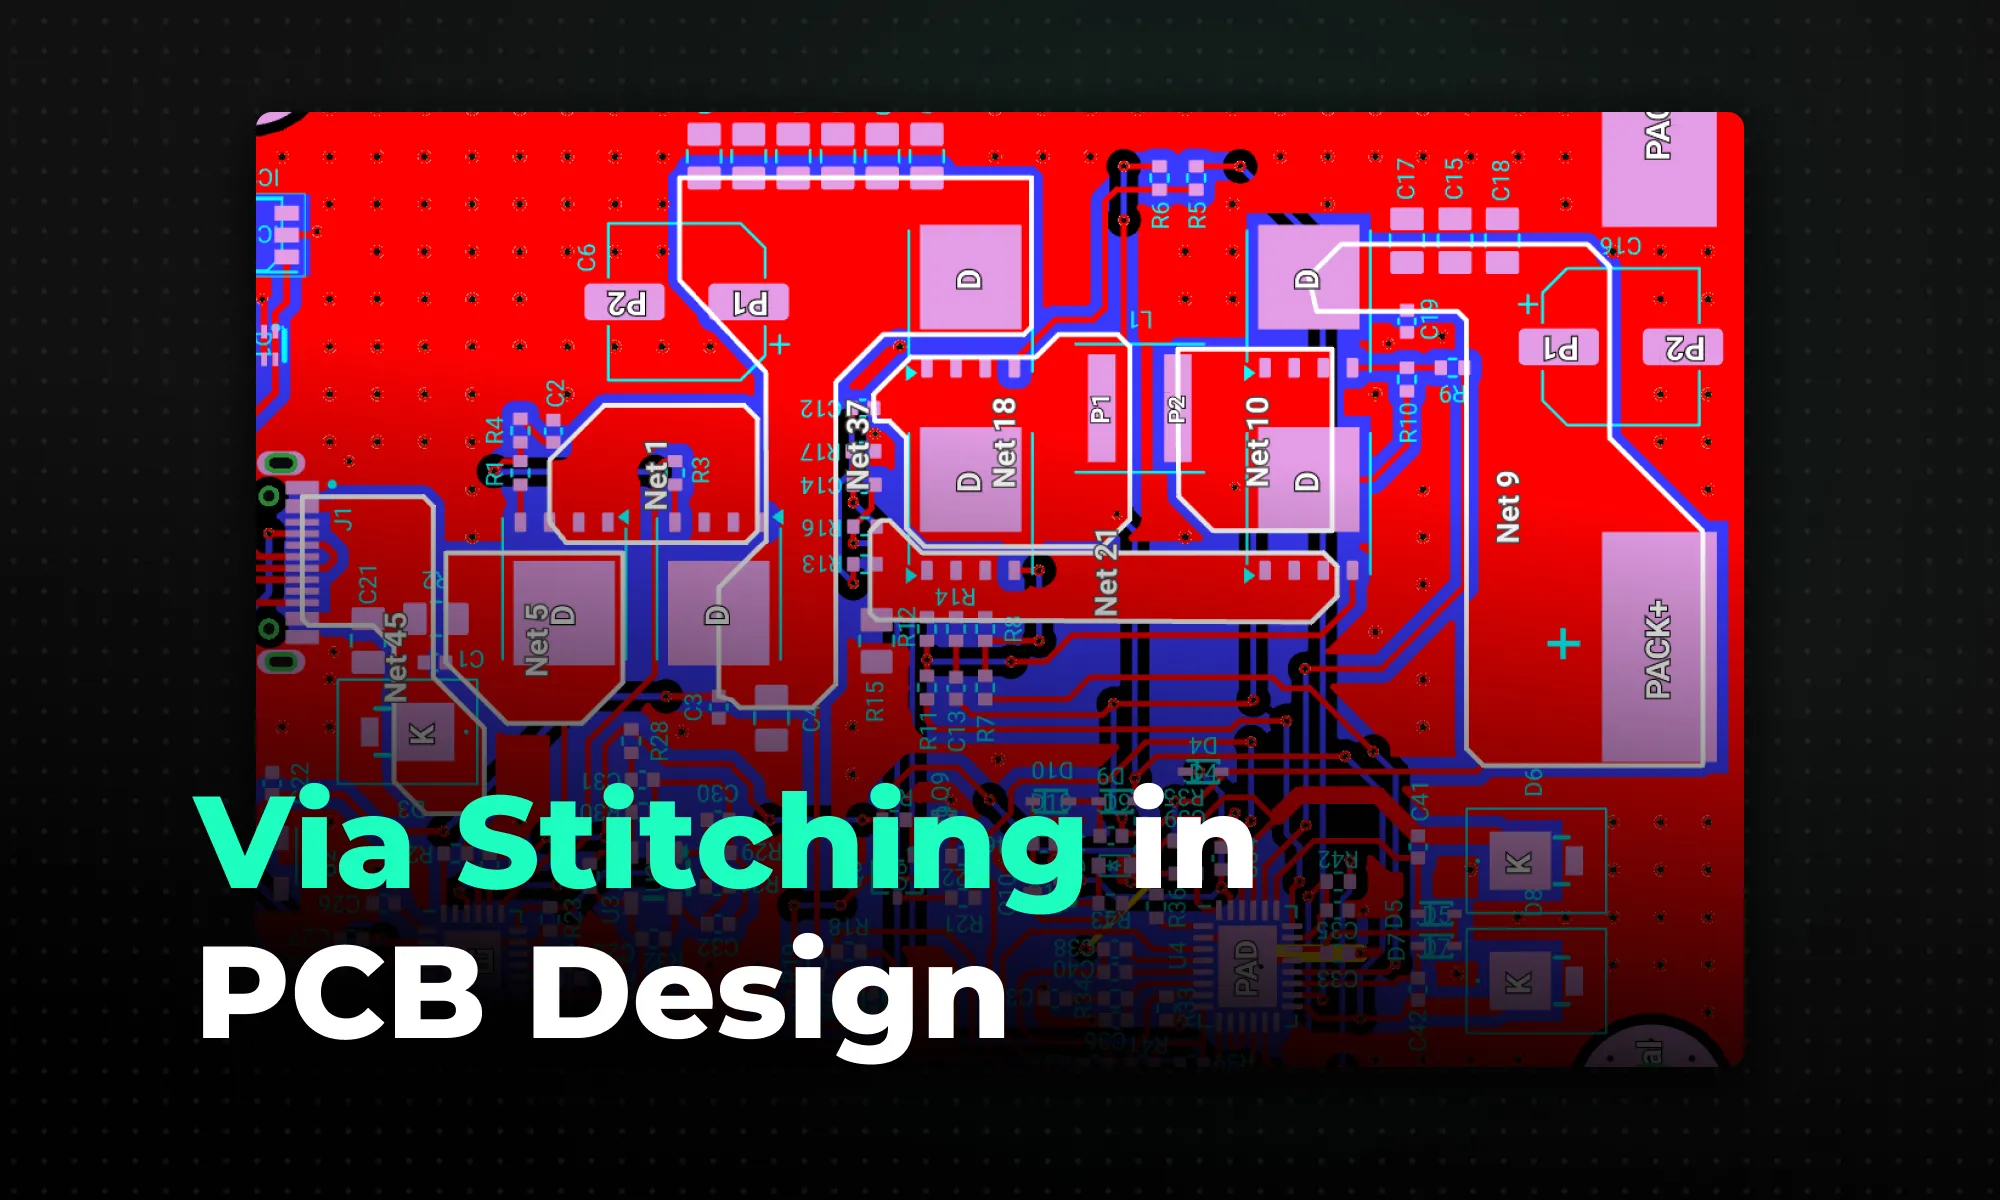
Profile avatar of the blog author

Yaneev Hacohen

Yaneev Cohen is an electrical engineer concentrating in analog circuitry and medical devices. He has a Master's and Bachelor's in Electrical Engineering and has previously worked for Cadence and Synopsys's technical content departments.

Go 10x faster from idea to PCB
Work with Flux like an engineering intern—automating the grunt work, learning your standards, explaining its decisions, and checking in for feedback at key moments.
Illustration of sub-layout. Several groups of parts and traces hover above a layout.
Design PCBs with AI
Introducing a new way to work: Give Flux a job and it plans, explains, and executes workflows inside a full browser-based eCAD you can edit anytime.
Screenshot of the Flux app showing a PCB in 3D mode with collaborative cursors, a comment thread pinned on the canvas, and live pricing and availability for a part on the board.

Related Content

PCB Prototyping vs. Fabrication: Which Process Is Right for Your Project?

PCB Prototyping vs. Fabrication: Which Process Is Right for Your Project?

A practical guide to when hardware teams should use low-volume PCB prototyping to validate a design versus full-scale fabrication to scale production, and how to transition between the two without costly mistakes.

Profile avatar of Yaneev Hacohen
Yaneev Hacohen
|April 21, 2026
Blind Vias, Buried Vias, and Microvias: A Complete Guide to PCB Via Types

Blind Vias, Buried Vias, and Microvias: A Complete Guide to PCB Via Types

A practical guide to the four main PCB via types — through-hole, blind, buried, and microvia — covering how each is fabricated, their cost and signal-integrity trade-offs, and when to use them based on layer count, BGA pitch, and routing density.

Profile avatar of Yaneev Hacohen
Yaneev Hacohen
|April 21, 2026
PCB Design for Manufacturability (DFM): Rules and Best Practices

PCB Design for Manufacturability (DFM): Rules and Best Practices

Learn PCB design for manufacturability (DFM) guidelines, rules, and common issues to ensure your circuit boards can be reliably produced.

Profile avatar of Yaneev Hacohen
Yaneev Hacohen
|April 16, 2026
Best PCB Routing Techniques for Clean Circuit Board Layouts

Best PCB Routing Techniques for Clean Circuit Board Layouts

Learn the best PCB routing techniques for clean circuit board layouts, including trace routing tips, differential pair routing, and layout best practices.

Profile avatar of Yaneev Hacohen
Yaneev Hacohen
|April 16, 2026
High-Speed PCB Design: Layout Rules, Signal Integrity, and Routing Best Practices

High-Speed PCB Design: Layout Rules, Signal Integrity, and Routing Best Practices

Whether you're migrating from popular EDA applications or starting fresh, mastering high speed PCB design has never been more intuitive. Flux enables teams to design, simulate, and route with real-time AI assistance, so you can spin your next high-speed board with total confidence.

Profile avatar of Yaneev Hacohen
Yaneev Hacohen
|March 26, 2026
Design Rule Checking (DRC) in PCB Design: Real-Time vs Batch, Rules, and Common Failures

Design Rule Checking (DRC) in PCB Design: Real-Time vs Batch, Rules, and Common Failures

DRC is an automated process that checks your PCB layout against manufacturing and electrical constraints, catching errors like trace spacing and drill sizes before fabrication. Modern tools run this in real-time during design, while older ones batch-check at the end, often producing overwhelming error lists.

Profile avatar of Yaneev Hacohen
Yaneev Hacohen
|March 26, 2026
What Is a PCB? A Beginner's Guide to Printed Circuit Board Design

What Is a PCB? A Beginner's Guide to Printed Circuit Board Design

Whether you are exploring “What is a PCB?” for the first time or moving into advanced hardware engineering, modern tools make the process easier than ever. With Flux's AI-assisted platform, you can skip the steep learning curve of popular ECAD applications and design collaboratively directly in your browser. Once your board is routed and ready for fabrication, Flux's built-in supply chain features connect you directly with worldwide distributors to source parts instantly. Sign up for free today and start building!

Profile avatar of Yaneev Hacohen
Yaneev Hacohen
|March 21, 2026
Simulate Circuits with a Prompt

Simulate Circuits with a Prompt

Flux brings circuit simulation to wherever you are in the design process. Start from a prompt when you have no schematic, or let Flux analyze your existing design automatically.

Profile avatar of Lance Cassidy
Lance Cassidy
|March 20, 2026