April 16, 2026
Best PCB Routing Techniques for Clean Circuit Board Layouts
Share

PCB routing is the geometric translation of schematic connectivity on a printed circuit board: the process of drawing copper traces to connect component pads, power sources, and ground planes according to the logical netlist generated during schematic capture. It transforms an abstract electrical design into a manufacturable physical layout.
Routing occurs after component placement and before manufacturing prep. Where it sits in the workflow matters: every decision you make during placement will either constrain or free up your routing options later. The quality of your routing dictates how well the board performs electrically, thermally, and mechanically, and a poor layout can undermine an otherwise sound design.
Treating routing as "connecting the dots" is a fast track to failed prototypes. Trace geometry, layer stackup, and spatial placement directly impact signal integrity, electromagnetic interference (EMI), and power delivery. The physical dimensions of a trace dictate its resistance and inductance, which in turn govern how power and high-frequency signals behave across the board.
Poor routing fails in predictable ways:
Every functional PCB layout depends on a set of geometric rules that exist for good reasons. Some are about physics; others are about manufacturability. Knowing which is which helps you apply them intelligently rather than reflexively.
The 3W Rule is the most universal guideline for crosstalk mitigation: the center-to-center distance between two adjacent traces must be at least three times the width of a single trace. This limits the electromagnetic coupling between signal lines.
Trace angles require some nuance. The industry has always said "never use 90-degree bends," but the reality is more qualified. One of the longest-running myths in signal integrity is the requirement to eliminate 90-degree turns in PCB traces, and as time has gone on, this claim has steadily been pushed off to higher and higher frequencies. For engineers, right-angle PCB traces are of practical concern only when the circuit board has to handle high-frequency signals at hundreds of GHz. That said, in traditional etching, a sharp 90-degree internal corner can trap etching acid, leading to over-etching and a potentially thin or broken trace. Modern PCB manufacturing processes have largely mitigated this, but it remains a best practice to avoid them for high-reliability designs. The real rule: avoid acute angles outright (they are genuine acid trap culprits), and default to 45-degree bends as a clean, broadly compatible routing style.
Clearances are voltage-dependent, not arbitrary. The minimum trace spacing depends on the voltage between conductors and their location. Based on IPC-2221 standards, low-voltage signals (0–30V) dictate specific minimum clearances:
These values increase significantly with voltage, i.e. at 300V, external uncoated conductors require 1.25mm spacing.
Always reference the current IPC-2221C standard (2023 revision) for your specific conductor configuration and altitude.
When basic rules aren't enough, high-speed digital, RF, DDR memory, mixed-signal, specialized techniques are required to maintain signal integrity at the physical layer.
Differential pair routing is mandatory for interfaces like USB, PCIe, HDMI, and Ethernet. Managing these traces requires strict adherence to geometry:
Daisy-chain (fly-by) routing is the correct topology for connecting multi-drop bus topologies (such as parallel memory architectures). Routing to each device in sequence, rather than branching, keeps stub lengths short and prevents the reflections that branch topologies cause.
Power distribution network (PDN) design has largely moved away from thick power traces toward dedicated, continuous power and ground planes in multilayer stackups. Adjacent power and ground planes in a layer stack provide built-in inter-plane capacitance and significantly lower PDN impedance — a benefit that no amount of discrete decoupling can fully replicate.
Even experienced engineers make spatial and layer-management mistakes that degrade board performance. These are the ones that show up repeatedly on failed boards.
Routing over split ground planes is the most damaging. Routing high-speed or sensitive signals across split planes breaks the return current path, creating loop discontinuities and impedance mismatches, which can lead to EMI radiation, signal distortion, and even ground bounce in mixed-signal or power-dense designs. The return current doesn't disappear. It takes the longest available path, and that loop area radiates.
Via voiding in ground planes occurs when vias are packed too tightly in BGA breakouts or connector arrays. When anti-pads (the circular clearance voids in a reference plane that prevent a passing via from shorting to that layer) merge, they create a continuous slot in the internal copper plane, effectively severing the return path. Space vias at least 15 mils apart to preserve the copper webbing between them.
Poor analog/digital separation routinely dooms mixed-signal boards. Digital return currents must never be allowed to flow through the analog section of a reference plane. Routing must physically partition these zones, with a single, controlled crossing point if the two domains must share a plane.
Ignoring voltage-dependent clearances is a beginner mistake that experienced engineers still make when moving between design domains. Failing to account for voltage differences between traces can cause arcing, so always check the standard's clearance tables for your specific voltage levels.
Legacy desktop Electronic Design Automation (EDA) tools force engineers into slow, sequential workflows: route manually, run a batch DRC at the end, find violations, fix them, repeat. For complex multilayer designs, this loop is expensive. Modern, cloud-native platforms eliminate much of that friction.
Flux provides an environment where schematic-to-layout synchronization is continuous and collaborative — no manual back-annotation, no file handoffs. Instead of catching IPC-2221 spacing violations at the end of a design phase, real-time DRC flags them the moment you draw the trace. Flux also integrates automated routing assistance and AI-assisted routing tools that help engineers iterate through placement and routing options faster, reserving manual attention for the high-speed signals that actually require it.
The practical result: engineering teams spend less time wrestling with the tool and more time solving the actual design problem.


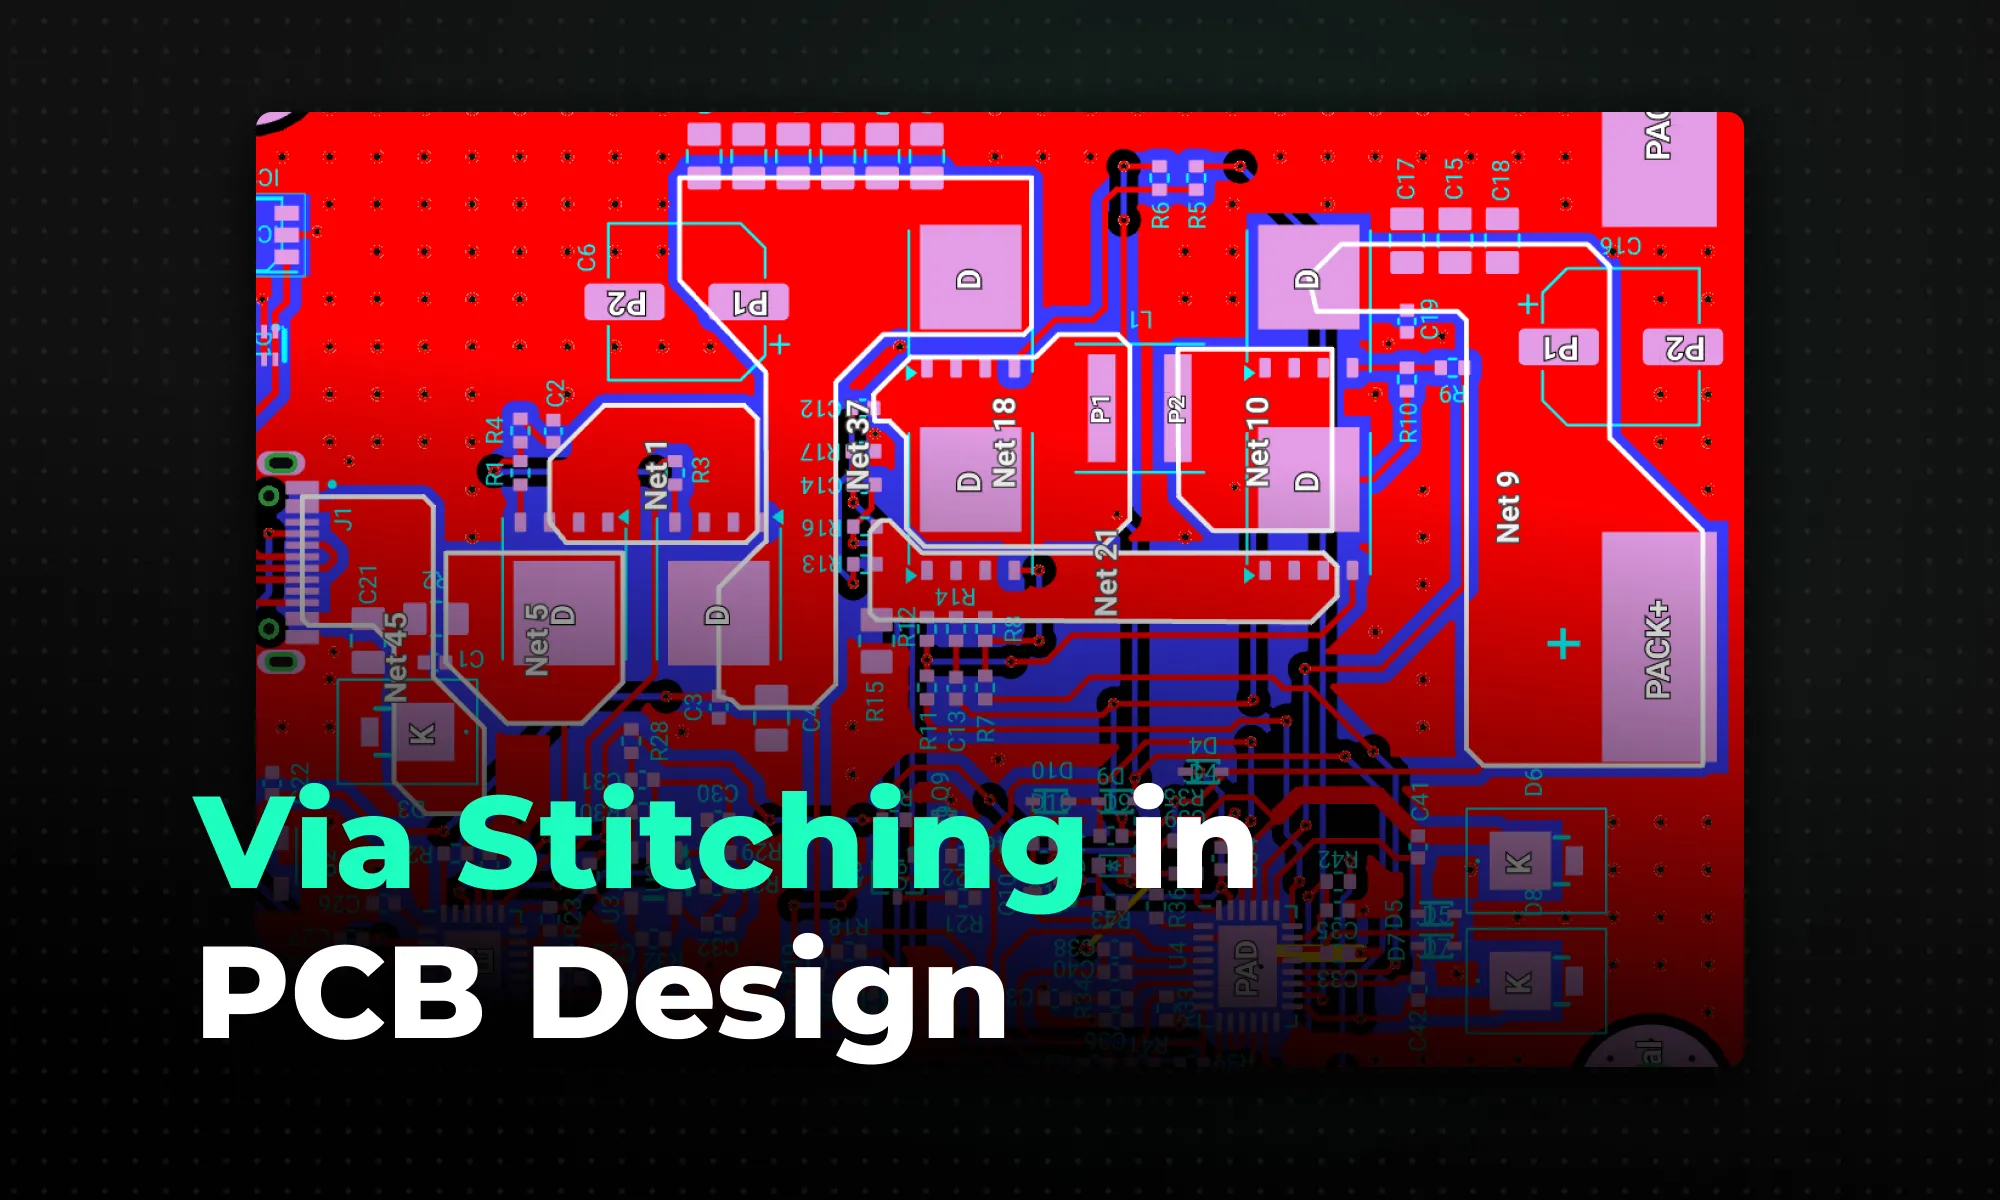
A practical guide to via stitching in PCB design -- what it is, why it improves EMI, signal integrity, and thermal performance, and where to place stitching vias. Includes spacing rules (like lambda/20), design guidelines, common mistakes to avoid, and how Flux can automate stitching via placement.
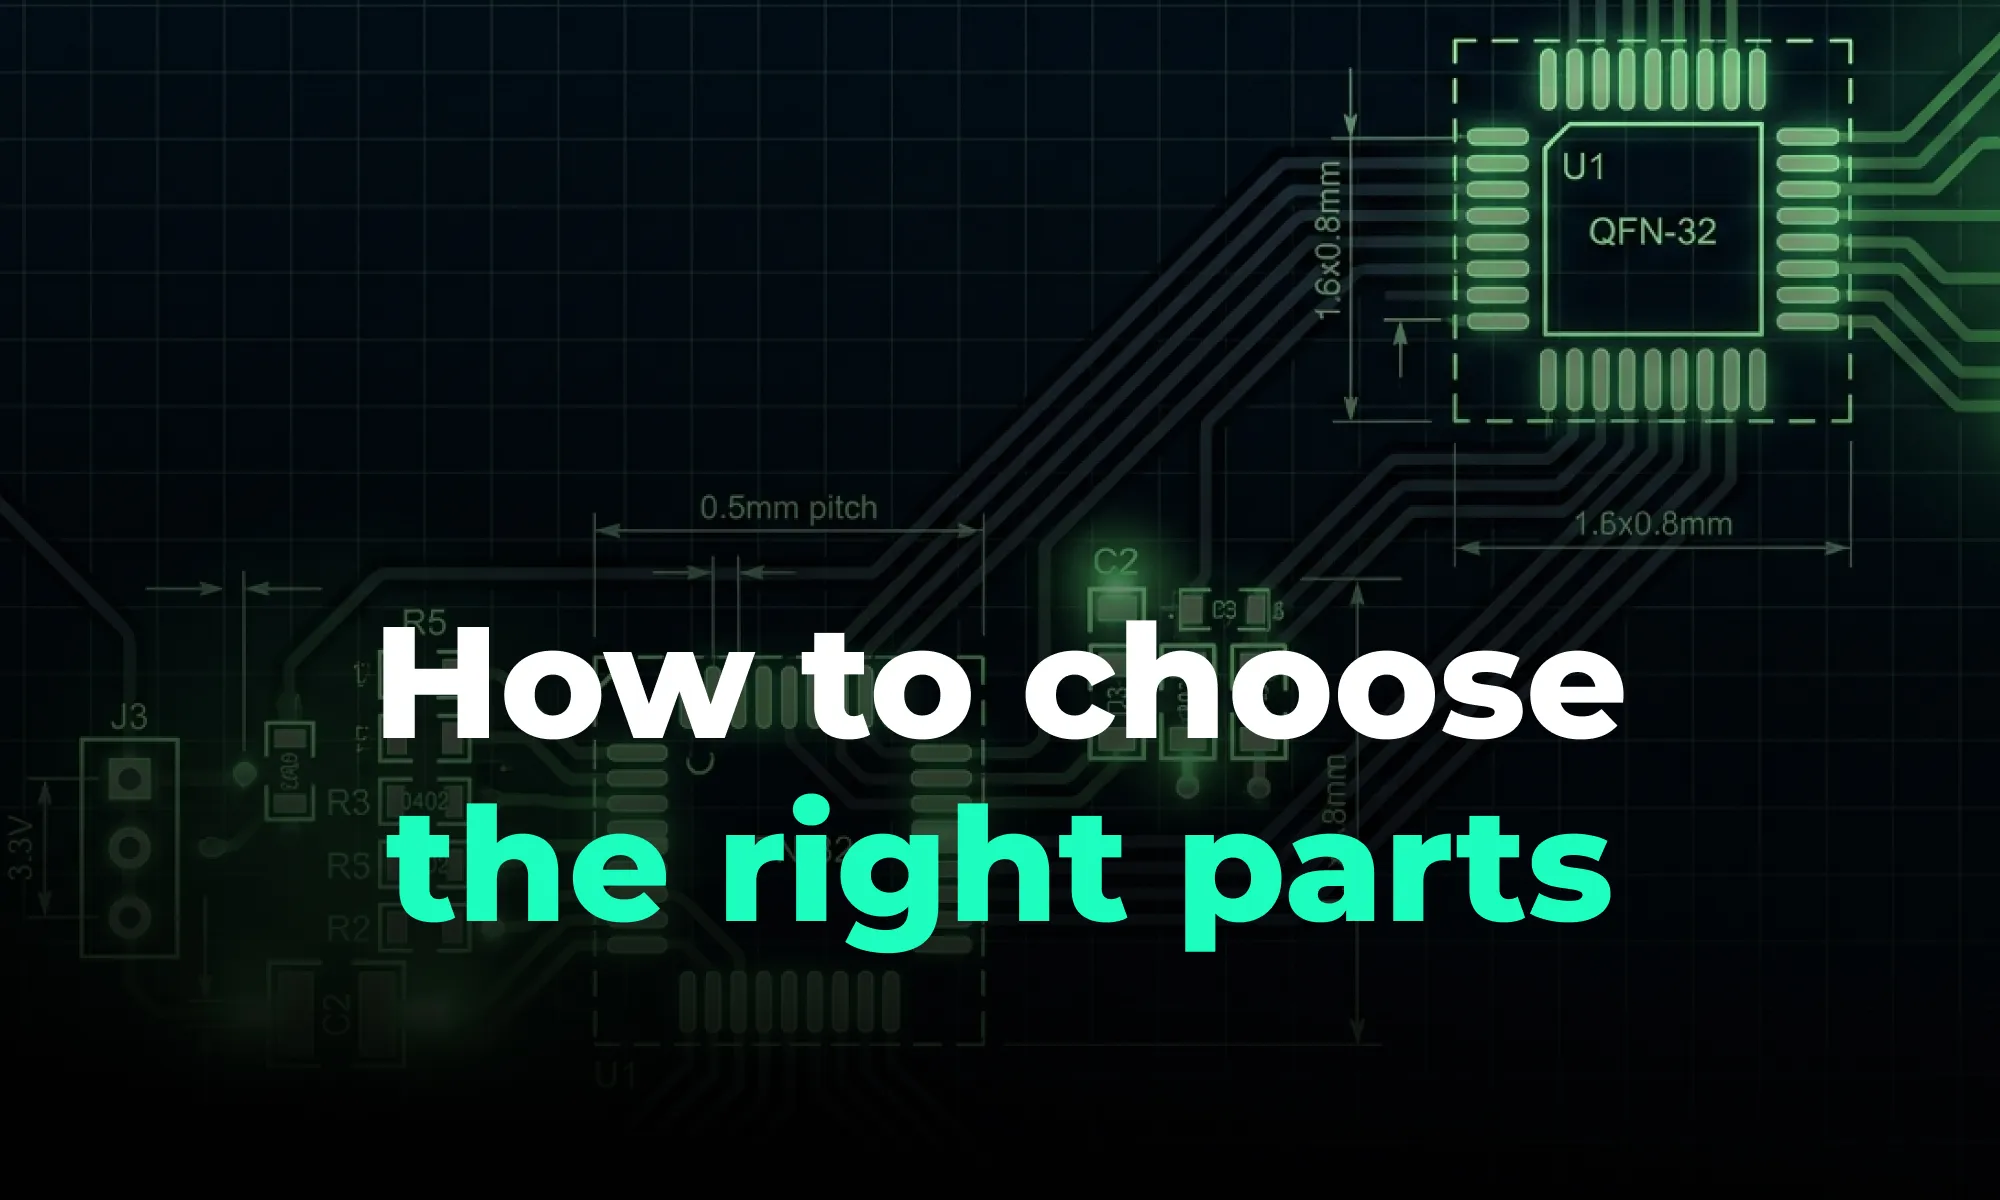
A guide to PCB component selection, covering electrical specs, footprints, thermal performance, sourcing, and best practices for picking parts that ship reliably.

A guide to PCB design reviews, covering schematic, layout, and DFM checks engineers use to catch errors early and ship more reliable boards.

A guide to creating and managing PCB footprint libraries, covering IPC standards, pad sizing, validation workflows, and best practices for reliable land patterns.

A guide to PCB schematic best practices, covering organization, symbols, labeling, and readability tips for clean, maintainable circuit diagrams.

A guide to flexible PCB design, covering materials, stackups, bend radius, and layout best practices for wearables, medical devices, and other compact electronics.

A beginner-friendly guide to reading PCB schematics, covering common symbols, nets, and how to follow signal flow through a circuit diagram.

An overview of collaborative PCB design, showing how cloud-native tools, real-time editing, and shared libraries are reshaping modern hardware team workflows.
