May 14, 2025
SNES Controller Deep Dive: Ergonomics, Buttons and Features
Share

Nintendo made a bold move away from the boxy NES controller with the SNES pad. The new "dog bone" shape measured approximately 2.4" (61 mm) in height and 5.67" (144 mm) in width, creating a form that fit naturally in players' hands. This wasn't just about looks—it addressed a real problem.
Nintendo moved away from the not-so ergonomic brick shape of the NES controller to provide a slicker design, and this layout laid the groundwork for future controllers.
Hand fatigue plagued gamers during long play sessions with the NES controller. The SNES design solved this with rounded edges and a contoured shape that distributed pressure more evenly across the palms. The controller's weight balance kept it steady during intense gameplay without causing wrist strain.
The surface texture provided just enough grip without feeling rough. This subtle detail prevented the controller from slipping during sweaty gaming marathons—a common issue with earlier controllers.
The SNES D-pad refined Nintendo's cross-shaped directional control with a precise pivot mechanism. A central fulcrum point allowed the pad to rock in eight directions while maintaining accuracy. Under the hood, the design featured specific measurements that created its distinctive feel—the dome gap measured .7mm while the contact gap was 1mm, creating a .3mm difference that delivered the perfect balance of resistance and responsiveness.
This design provided tactile feedback that let players know exactly when they'd registered a directional input—critical for platformers and fighting games where timing and precision determined success.
The diamond arrangement of A, B, X, and Y buttons marked a significant evolution from the NES controller's two-button layout. These buttons used silicone dome switch technology that created a satisfying tactile response when pressed.
Nintendo Fandom describes the diamond layout as part of the SNES's "rounded dog-bone like design" that added X and Y buttons. The US version featured an interesting design choice: concave X and Y buttons paired with convex A and B buttons, while the Japanese Super Famicom version had all convex buttons. This subtle difference helped players orient their thumbs without looking down at the controller.
Each button press collapsed a rubber dome, bringing a conductive pad into contact with traces on the circuit board. This mechanism required just enough force to prevent accidental presses while remaining responsive enough for rapid-fire actions.
Perhaps the most forward-thinking feature was the addition of L and R shoulder buttons. These buttons used a pivot assembly design that was completely different from the face buttons.
As noted on Printables.com, some versions pivot on a metal rod while others use molded plastic, and a Digital Press forum post confirms both variations exist. This pivot mechanism created a longer travel distance and a progressive resistance that foreshadowed the triggers that would become standard in later controllers.
The placement at the top edge of the controller allowed players to maintain their grip while accessing additional inputs—a revolutionary concept that expanded the possibilities for game controls.
The SNES controller's 12-bit shift register multiplexed all button signals through a single data line—an elegant engineering solution that simplified the internal wiring while allowing for more inputs.
With eight inputs including Start and Select, the SNES controller enabled complex combinations that previous controllers couldn't support. Players could comfortably press up to four buttons simultaneously, opening new gameplay possibilities for developers.
The controller's influence spread throughout the industry. The diamond button arrangement and shoulder buttons appeared in countless subsequent controllers, from the PlayStation to modern gamepads.
Less obvious innovations included thoughtful cable routing through strain relief pins, which prevented wire damage at the connection point. The modular screw assembly made repairs straightforward—though some later models like the SNS-102 had soldered cables that reduced this benefit.
A great example of how this classic design can be adapted today is demonstrated in a sample SNES project made with Flux. You can explore the project here, showcasing a SNES controller Arduino Nano shield.
The SNES controller's design principles have become industry standards. The ergonomic shape, multi-button layout, and shoulder buttons appear in virtually every modern controller.
Retro gaming and speedrunning communities still prize original SNES controllers for their authentic feel and precision. The demand has spawned a market for high-quality replicas that maintain the classic design while adding modern features like wireless connectivity. As noted in a Retro-Bit Legacy 16 review, "The Switch Online SNES library of games also beg to be played with a SNES-styled controller!".
Even Nintendo's own Switch controllers for playing SNES games in their online library draw directly from the original design—proof that some engineering solutions stand the test of time.
The SNES controller remains relevant because it solved fundamental problems in human-computer interaction. It found the sweet spot between complexity and usability, between comfort and control. These principles continue to guide controller design today, making the SNES pad not just a nostalgic artifact but a blueprint for effective gaming input devices.
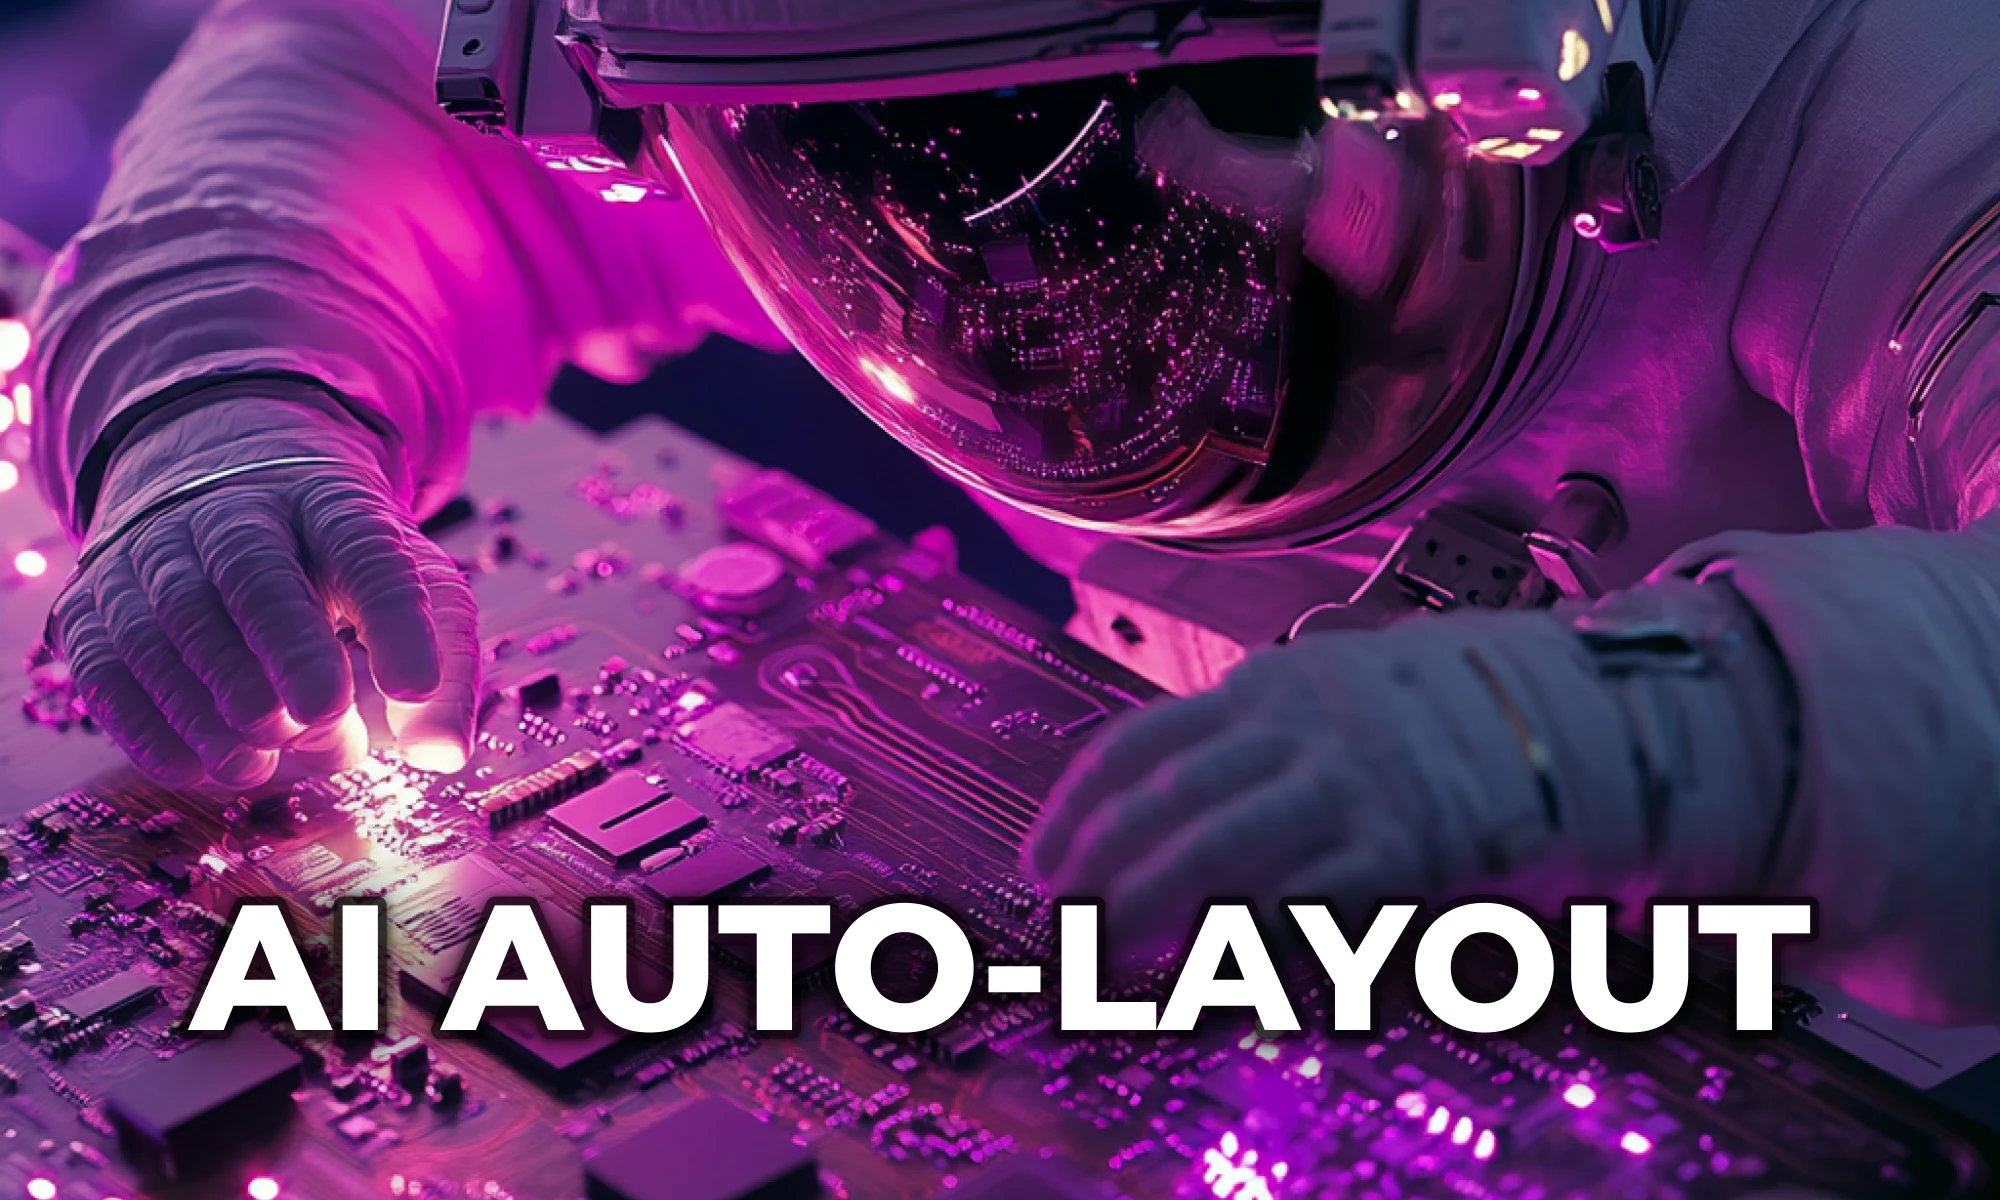
For hardware engineers looking to apply these time-tested principles to modern designs, Flux.ai's browser-based EDA platform offers powerful tools. With AI Auto-Layout and Flux Copilot, you can quickly prototype input devices that incorporate the SNES controller's ergonomic brilliance while leveraging modern components and manufacturing techniques—all without installing specialized software.


DRC is an automated process that checks your PCB layout against manufacturing and electrical constraints, catching errors like trace spacing and drill sizes before fabrication. Modern tools run this in real-time during design, while older ones batch-check at the end, often producing overwhelming error lists.
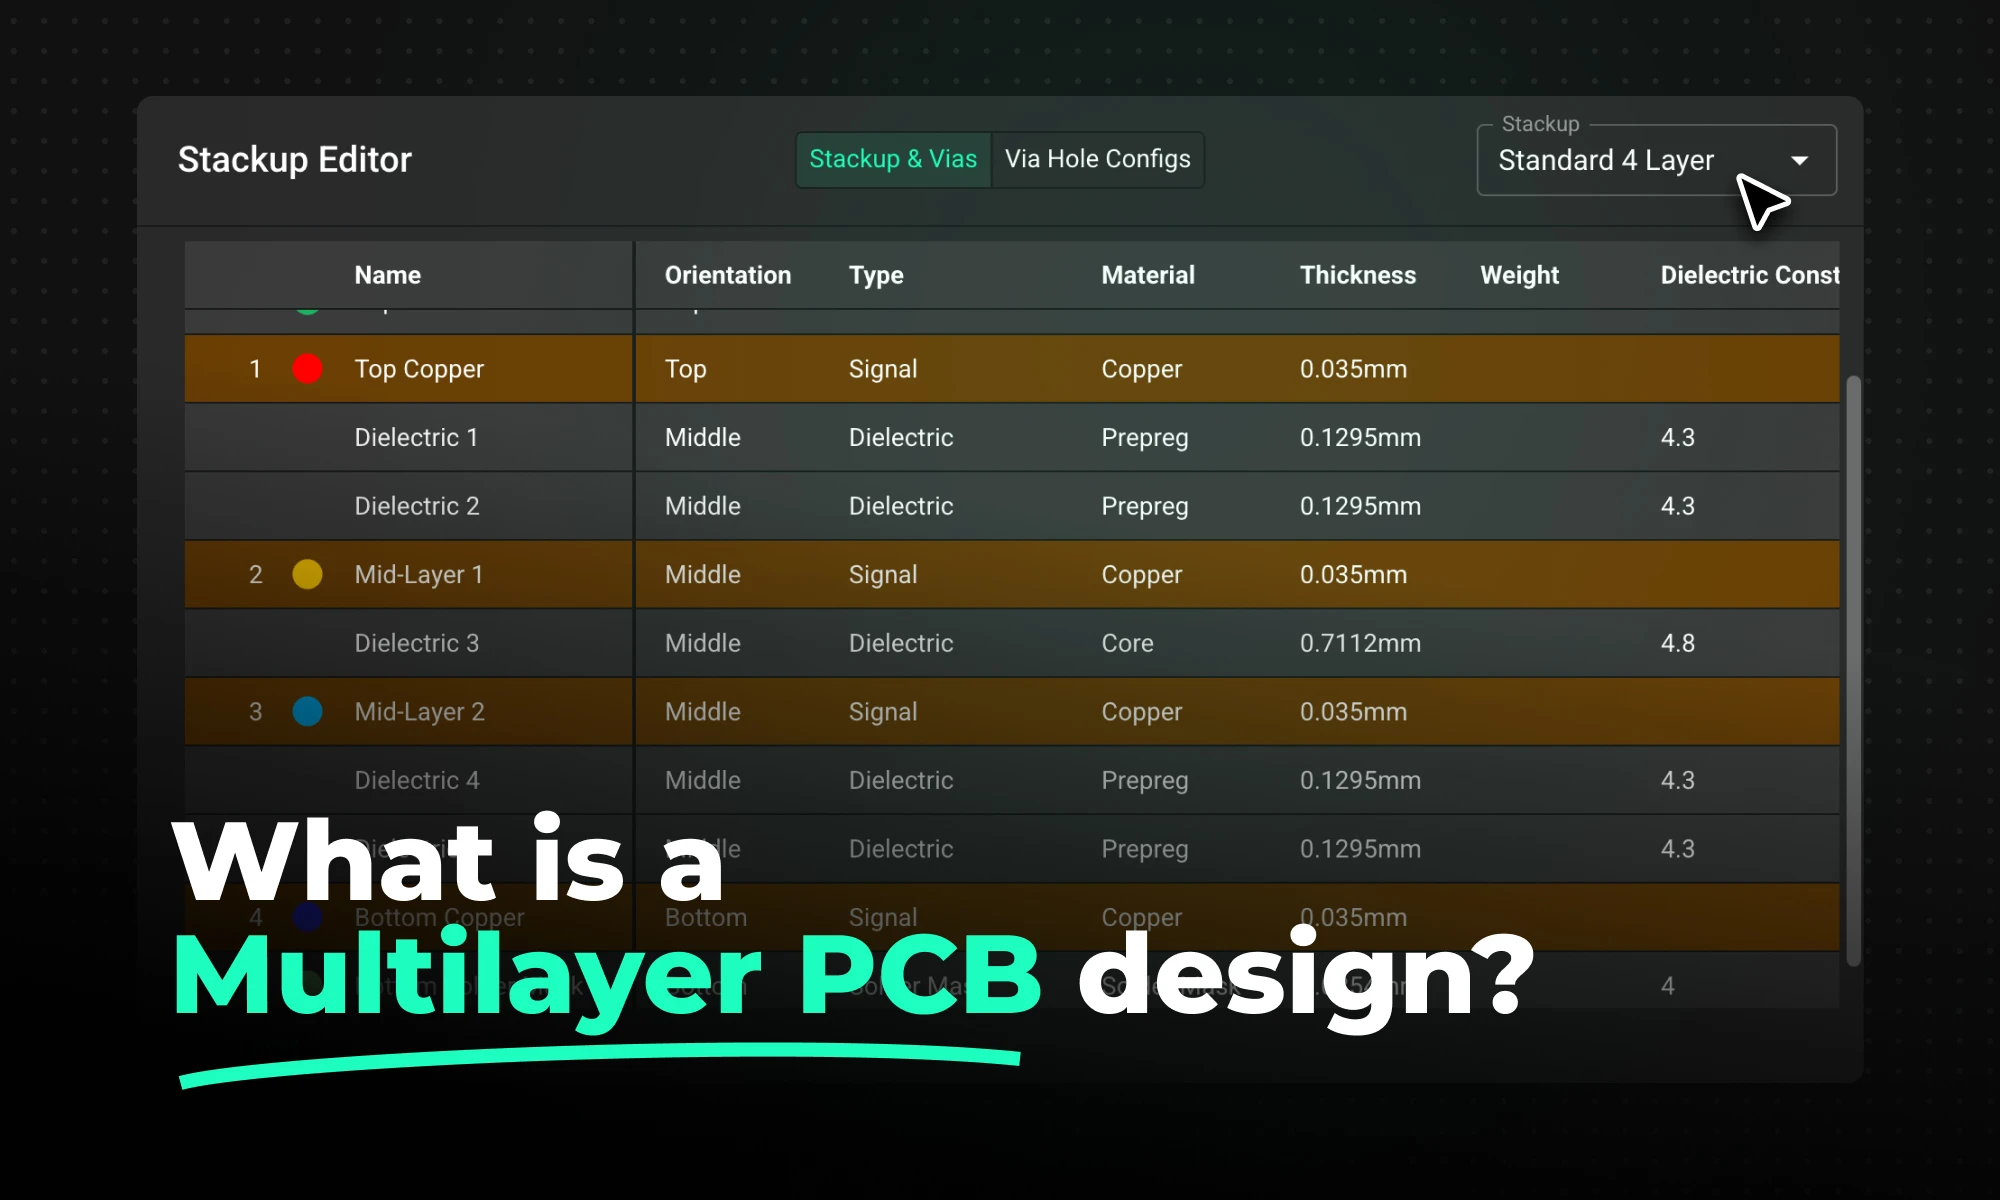
Mastering multilayer PCB design is key for complex electronics. Use strategic stackup (Signal-Ground-Power-Signal), perpendicular routing, and solid ground/power planes to ensure signal integrity, reduce EMI, and support high-density components for applications like IoT and robotics.

This Spring 2026 updates make hardware design faster end-to-end with a more capable, self-correcting AI agent, improved AI auto-layout that needs less cleanup, sourcing-aware design with real-time pricing and availability, and templates to start from.
AI Auto Layout’s Winter Update delivers cleaner, more human-like routing with faster, more reliable results. It handles most of the routing workload so you can focus on the critical parts of your PCB design.

This guide helps you choose the best hardware platform—Arduino, Raspberry Pi, ESP32, or others, by comparing power, connectivity, and scalability for your project.

Hardware raises the stakes, iteration is slower and costlier, so you can’t stumble on business basics or customer insight. Winning teams de-risk the business model and iterate fast. This bookshelf helps sharpen judgment and give technical founders the tools to build companies people love.

Arduino Nano R4 packs UNO R4 performance into Nano size. Learn specs, standout features, and who should upgrade in this in-depth guide.

RP2350 A4 fixes GPIO bug, hardens security, adds 5 V tolerance and on-chip flash. See why every Pico project should migrate.
