October 24, 2023
Master DIY Electronics: Essential Guides to Arduino Projects
Share

Arduino offers a variety of board options to cater to different project needs, varying in size, input/output capabilities, and specifications. The most commonly used ones include:
The Arduino Uno is often the starting point for beginners, and it's crucial to understand its technical specifications. This remarkable board is equipped with the ATmega328P microcontroller, based on the AVR architecture. The ATmega328P boasts 32 KB of flash memory for program storage, 2 KB of SRAM for data storage, and 1 KB of EEPROM for non-volatile storage. With 14 digital input/output pins, six analog inputs, and a 16 MHz quartz crystal, the Arduino Uno offers a rich set of features for your projects.
When your project demands more processing power and an abundance of I/O pins, the Arduino Mega steps in. It features the ATmega2560 microcontroller, offering a substantial 256 KB of flash memory, 8 KB of SRAM, and 4 KB of EEPROM. With a whopping 54 digital input/output pins and 16 analog inputs, the Mega is perfect for complex and resource-intensive applications. Whether you're working on 3D printers, robotics, or other large-scale projects, the Arduino Mega has you covered.
For projects where size is a critical factor, the Arduino Nano shines. It's a compact board that doesn't compromise on capability. The Nano is powered by the ATmega328P, like the Uno, and includes 32 KB of flash memory, 2 KB of SRAM, and 1 KB of EEPROM. It offers 22 digital input/output pins and 8 analog inputs, making it an excellent choice for compact and portable projects. From wearables to small IoT devices, the Arduino Nano's small footprint is an advantage.
To kickstart your journey into Arduino projects, you need to familiarize yourself with some fundamental concepts and components. Here are the key players in the world of Arduino:
To create, upload, and run code on your Arduino, you'll need the Arduino IDE (Integrated Development Environment). This intuitive software streamlines the programming process, enabling you to write and upload code effortlessly. If you haven't already, download and install the Arduino IDE from the official Arduino website.
Now that you've got the basics down, it's time to explore a few Arduino project ideas to inspire your journey into DIY electronics. We'll start with some straightforward projects and gradually progress to more advanced ones.
The LED blink project is the Arduino equivalent of 'Hello World.' It's the perfect introduction to the Arduino platform, helping you understand the basics of code compilation and uploading. Using a breadboard, connect an LED to one of the digital pins, and use a simple code snippet to control it. Here's an example Arduino sketch to blink an LED connected to digital pin 13:
In this code, we set pin 13 as an output and alternate between turning the LED on and off with one-second delays.
Unlock the power of Arduino by utilizing a temperature sensor to create a project that provides real-time temperature readings. The DHT22 temperature sensor is an excellent choice for measuring ambient temperature and humidity accurately. Display the collected data on an LCD screen for easy visualization.
Technical Insights:
For those with a passion for gardening, Arduino offers the opportunity to build a smart plant watering system. Two distinct approaches are possible:
Arduino empowers you to transform your home into a smart living space, offering precise control over various aspects of your environment. By leveraging an Arduino and an array of sensors, Wi-Fi modules, and relay controls, you can enhance convenience, safety, and energy efficiency.
Technical Insights:
Arduino opens the door to creating intricate robotic systems, and a Bluetooth-controlled robot is an excellent example. This project seamlessly integrates motors, sensors, and Bluetooth modules for smartphone control, offering an educational experience in motor control.
Technical Insights:
As you engage in more complex Arduino projects, you might encounter technical challenges. Here are some advanced troubleshooting tips:
As you pursue your journey of Arduino projects, keep in mind that there's a diverse range of peripherals you can use to add functionality and interactivity to your creations. Here are some noteworthy accessories to consider:
By incorporating these components and exploring a wider array of project ideas, you'll gain a deeper understanding of Arduino's versatility and its potential for innovation. So, let your creativity flow and embark on a journey of endless possibilities with Arduino.


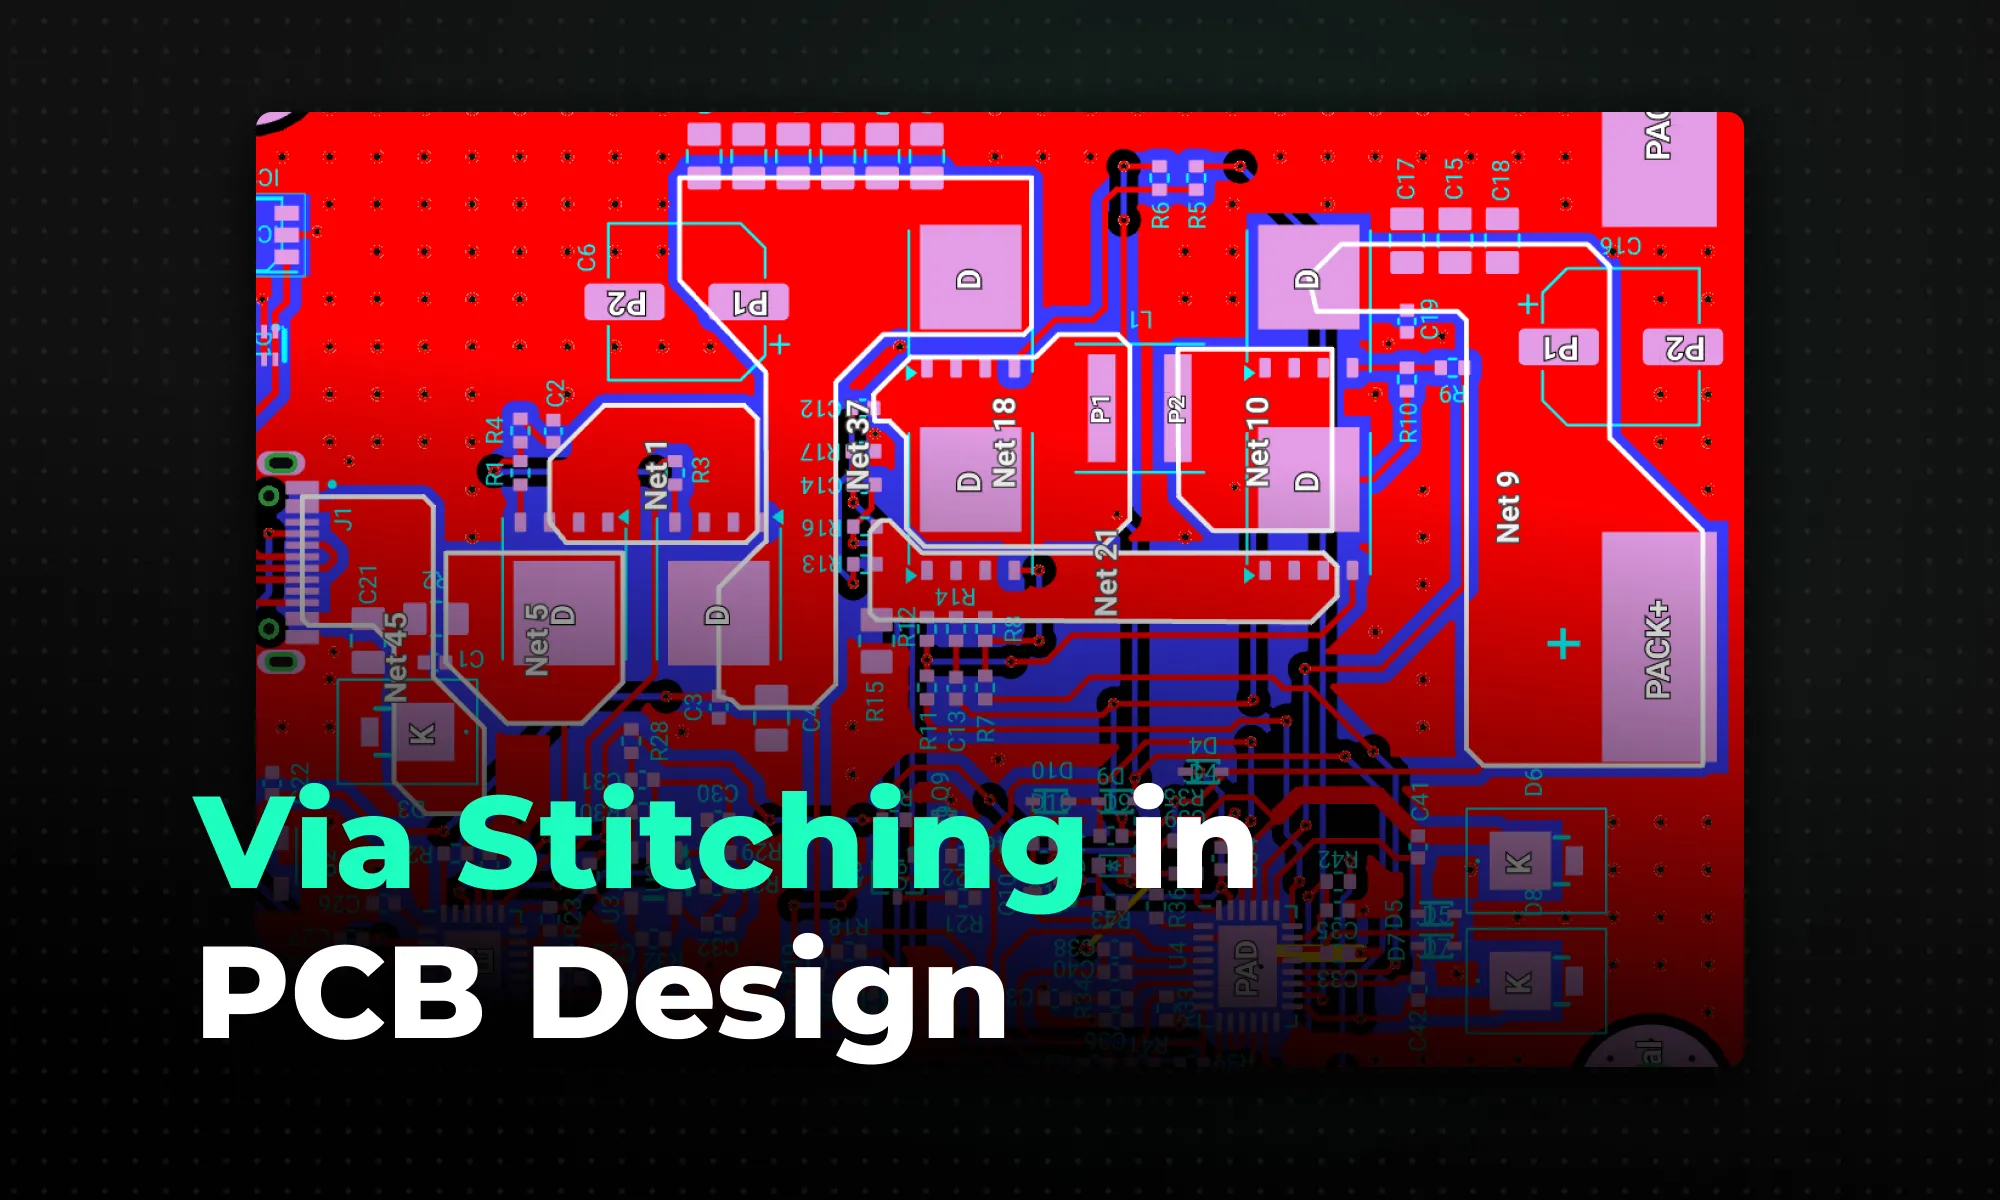
A practical guide to via stitching in PCB design -- what it is, why it improves EMI, signal integrity, and thermal performance, and where to place stitching vias. Includes spacing rules (like lambda/20), design guidelines, common mistakes to avoid, and how Flux can automate stitching via placement.

A guide to PCB component selection, covering electrical specs, footprints, thermal performance, sourcing, and best practices for picking parts that ship reliably.

A guide to PCB design reviews, covering schematic, layout, and DFM checks engineers use to catch errors early and ship more reliable boards.

A guide to creating and managing PCB footprint libraries, covering IPC standards, pad sizing, validation workflows, and best practices for reliable land patterns.

A guide to PCB schematic best practices, covering organization, symbols, labeling, and readability tips for clean, maintainable circuit diagrams.

A guide to flexible PCB design, covering materials, stackups, bend radius, and layout best practices for wearables, medical devices, and other compact electronics.

A beginner-friendly guide to reading PCB schematics, covering common symbols, nets, and how to follow signal flow through a circuit diagram.

An overview of collaborative PCB design, showing how cloud-native tools, real-time editing, and shared libraries are reshaping modern hardware team workflows.
